Most knowledge management systems have the same problem: you save things, but you never find them again. Your browser bookmarks are a graveyard. Your notes app is a pile. The information exists — you just can't access it when you need it.
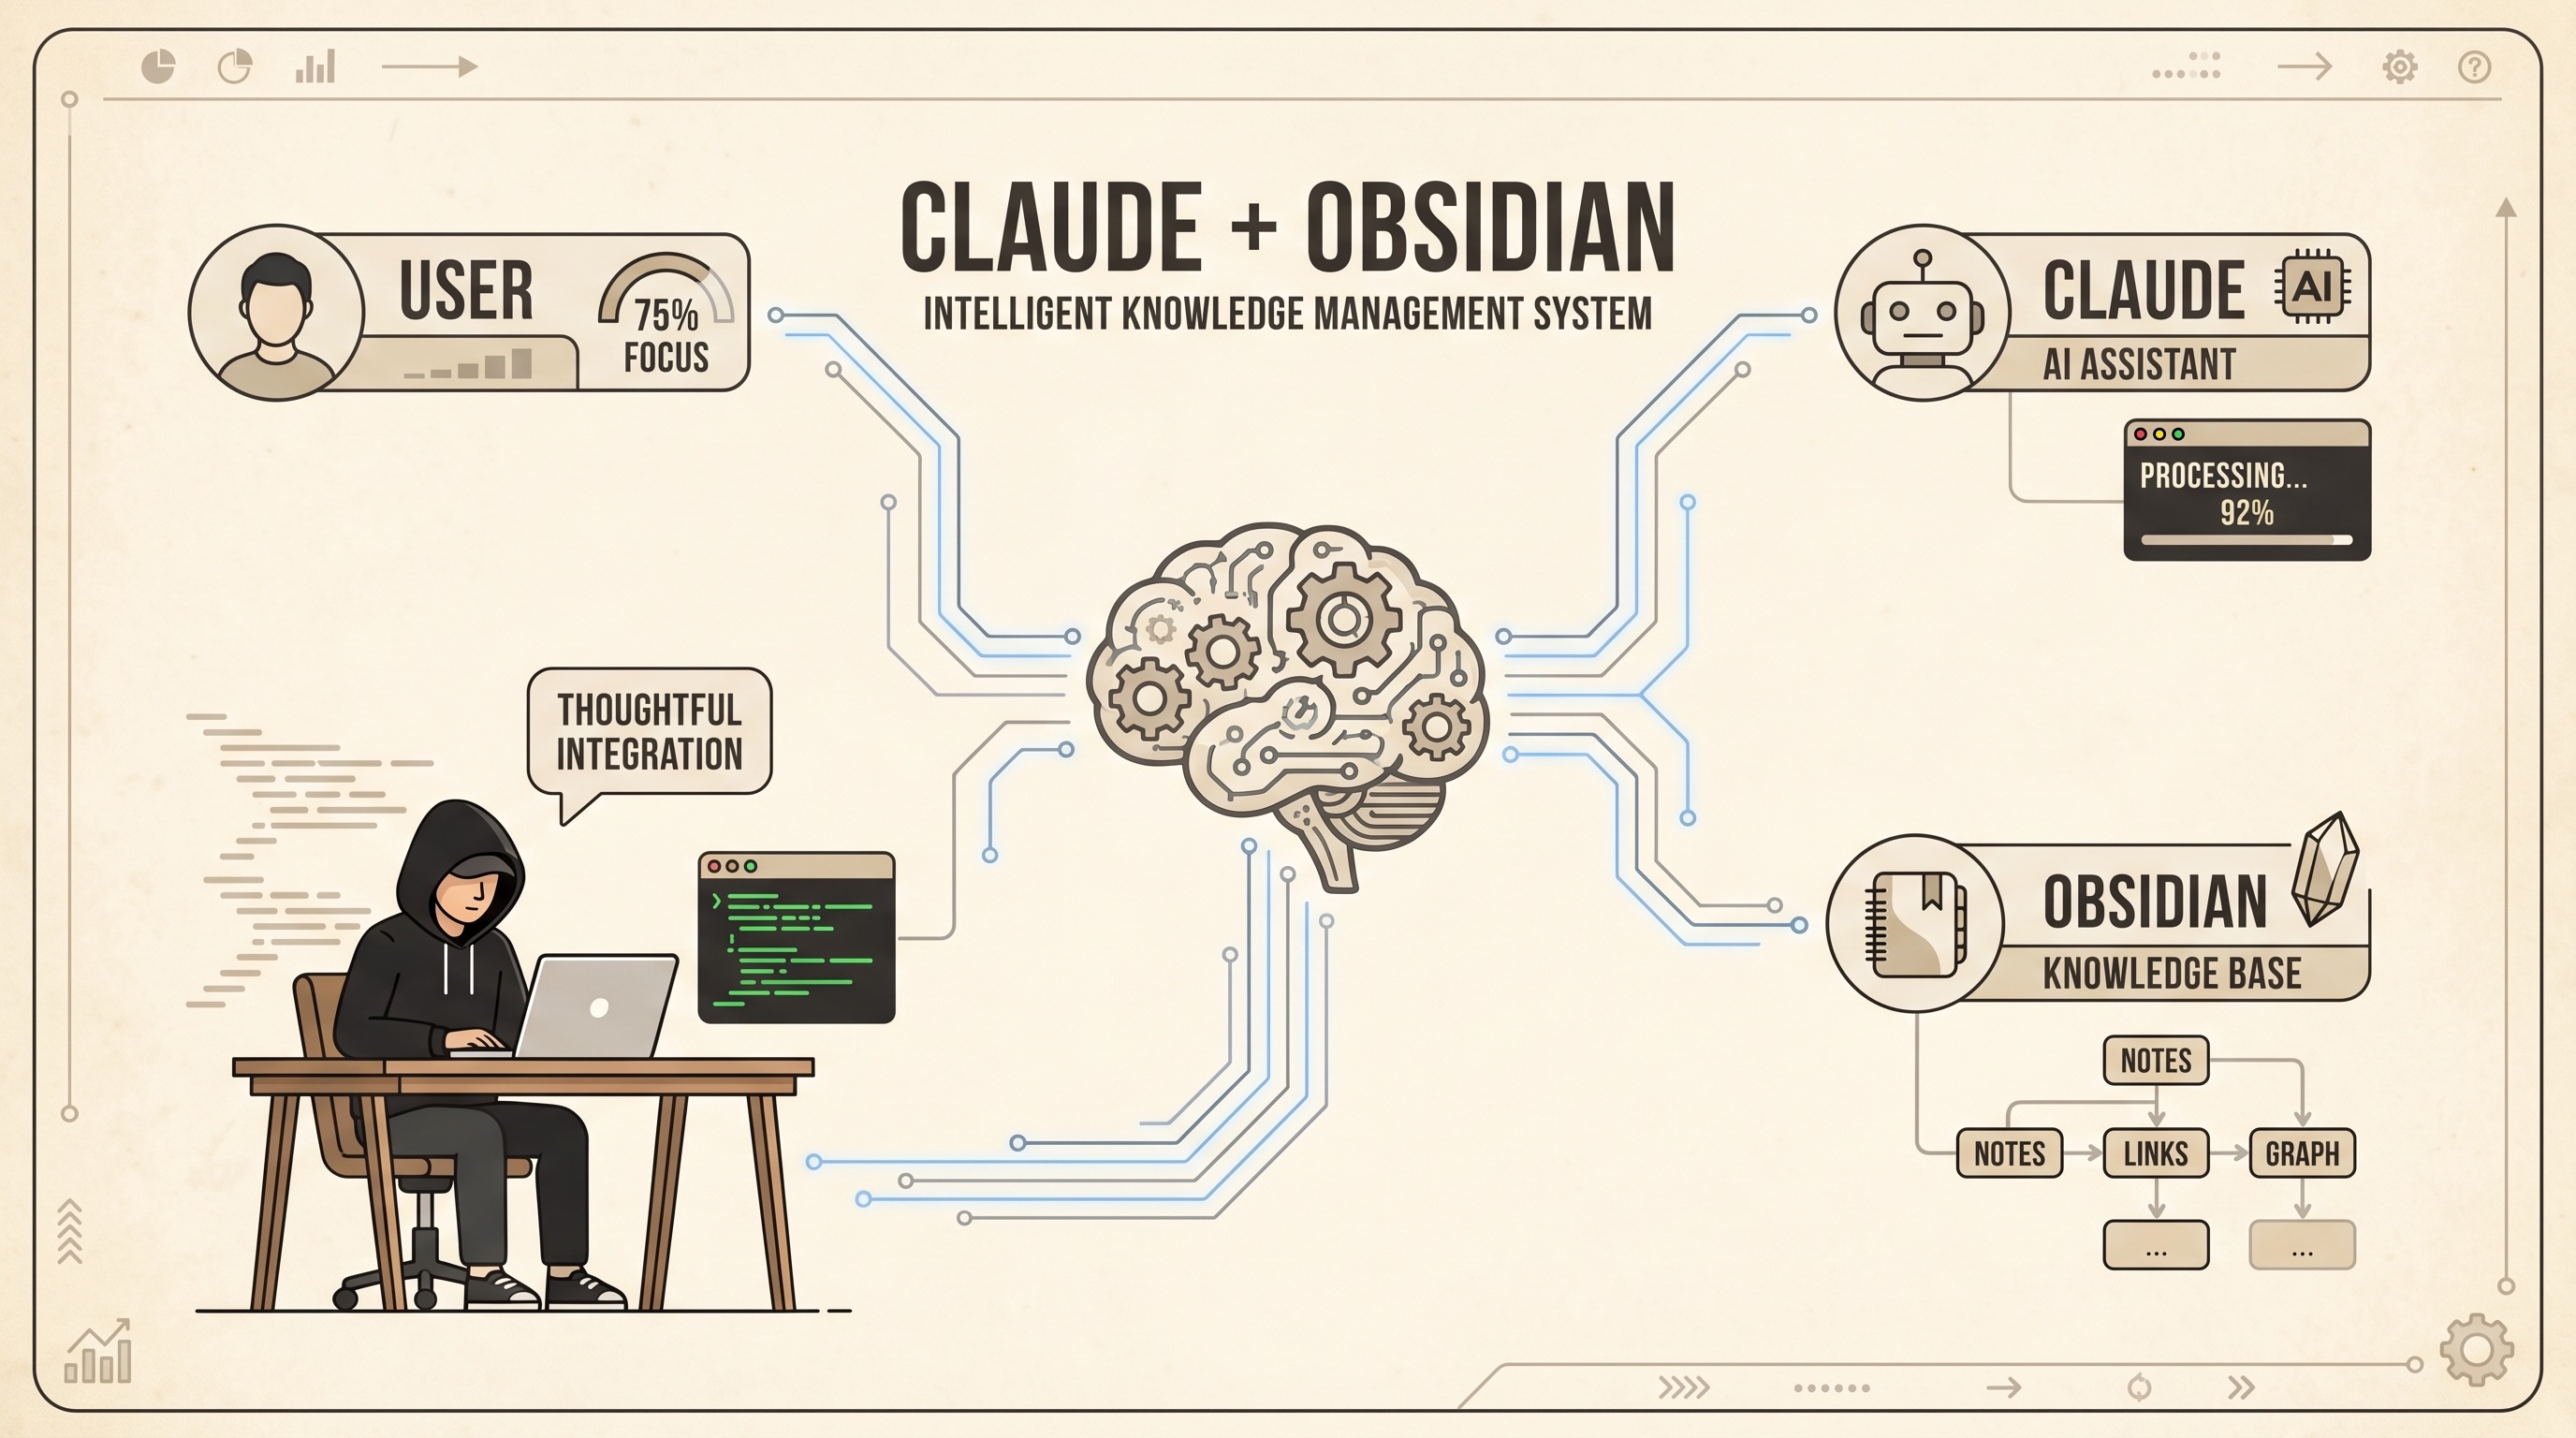
This tutorial shows you how to build a personal knowledge base where an AI is the librarian. You clip content from anywhere (a tweet, an article, a PDF), drop it in an inbox folder, and Claude Code processes it into a structured, searchable wiki — with summaries, key takeaways, and cross-linked concepts. When you want to retrieve something, you ask Claude and it navigates the wiki to find the answer.
Note:
- This is based on the this post by Andrej Karpathy
- Additional resources from Chase Hannegan
The Problem
Here's the typical workflow:
- You see something interesting on X or read a great article.
- You save it somewhere — bookmarks, a notes app, a "read later" list.
- You never look at it again.
- When you actually need that information, you can't find it and end up Googling from scratch.
The deeper issue is that saving and organizing are two separate, manual steps. Most people are good at saving but never get to organizing. And even when notes are organized, retrieving the right note at the right moment is its own challenge.
The solution
- Separate the capture step (fast, frictionless, zero-effort) from the organization step (automated, done by an AI).
- Store the data in iCloud for storing, process and accessibility across devices.
- Make retrieval conversational.
The Tools
Obsidian
Obsidian is a note-taking app that stores everything as plain Markdown files on your local device. Unlike Notion or Evernote, there's no proprietary database — your notes are just .md files in a folder. This matters because:
- You own your data completely.
- Any tool (including Claude Code) can read and write your notes like ordinary files.
- Notes can link to each other using
[[wiki links]], creating a web of connected ideas.
Obsidian calls a folder of notes a vault. You'll create one vault that serves as your knowledge base.
Claude Code
Claude Code is Anthropic's AI coding assistant that runs in your terminal. Unlike a chat interface, Claude Code can read files, write files, search your filesystem, and execute commands — all inside a project directory you point it at.
For this setup, Claude Code acts as your librarian. You give it a set of rules (in a file called CLAUDE.md) that tell it how to process new content and how to answer questions. It reads your raw notes, writes structured wiki articles, and navigates the knowledge base on demand.
Requirement: Pro (Paid)
Obsidian Web Clipper
Obsidian Web Clipper is an official browser extension and iOS share sheet integration. It lets you save any webpage — or a selected portion of it — directly into your Obsidian vault as a Markdown file. You'll configure it to save everything into a specific raw/ inbox folder, where Claude Code picks it up.
Requirement: Free
iCloud
iCloud is Apple's built-in cloud storage and synchronization service that automatically securely stores photos, files, notes, and passwords, keeping them updated across all your Apple devices.
Requirement: Free (5Gb)
Folder Structure
Your vault will have three top-level folders:
vault/
├── raw/          ← inbox: everything you clip lands here
├── wiki/         ← Claude's domain: organized, structured articles
│   ├── _master-index.md
│   └── ai-agents/
│       ├── _index.md
│       └── transformer-architecture.md
└── output/       ← query results and generated reports
raw/is the inbox. You never need to organize it — just dump things in.wiki/is maintained entirely by Claude. You don't edit these files directly.output/is where Claude writes answers to your research questions.
Step 1: Create Your Obsidian Vault
- Download and install Obsidian.
- Open Obsidian and click Create new vault.
- Name it (e.g.,
my-wiki) and choose a location on your iCloud filesystem. Note the full path — you'll need it. - Inside the vault folder, create three folders:
raw,wiki,output. - Inside
wiki/, create a file called_master-index.mdwith this starter content:
# Master Index

This is the entry point for the knowledge base. Each topic has its own subfolder.

## Topics

(Claude will populate this as you add content.)
Step 2: Add the CLAUDE.md Configuration
CLAUDE.md is the instruction file that tells Claude Code how to behave inside this project. Create a file called CLAUDE.md at the root of your vault with the following content:
## Knowledge Base Rules

- This is an LLM-maintained knowledge base. You are the librarian.
- The wiki/ folder is YOUR domain - you write and maintain everything in it. I rarely edit wiki files directly.
- raw/ is the inbox. When I dump files here, you process them into the wiki during a "compile" step.
- Files in raw/ can be markdown, pdf, note with a link to a post on X.
- If a file in raw/ only contains a post to X, open the link and read the content of the post.
- wiki/_master-index.md is the entry point. It lists every topic folder with a one-line description. Always keep this up to date.
- Each topic gets its own subfolder in wiki/ (e.g., wiki/ai-agents/) with its own _index.md that lists all articles in that topic with brief descriptions.
- Always use [[wiki links]] to connect related concepts across topics.
- When compiling raw material:
  1. Read the raw file
  2. Decide which topic it belongs to (or create a new one)
  3. Write a wiki article with key takeaways and relevant links
  4. Update that topic's _index.md
  5. Update wiki/_master-index.md
  6. If a raw file spans multiple topics, create articles in both and cross-link
- Keep articles concise - bullet points over paragraphs.
- Include a ## Key Takeaways section in every wiki article.
- output/ is for query results and generated reports.
- When answering questions, read _master-index.md first to navigate, then drill into the relevant topic _index.md, then read specific articles.
- When I ask you to "compile", process everything in raw/ that hasn't been compiled yet into the wiki.
- When I ask you to "Audit" or "lint", review the wiki for inconsistencies, broken links, gaps, and suggest improvements.
This file is the core of the system. Claude reads it at the start of every session and uses it as the rulebook for how to manage your knowledge base.
Step 3: Install Obsidian Web Clipper (Chrome)
Installation
- Go to the Chrome Web Store and search for Obsidian Web Clipper, or find it at obsidian.md/clipper.
- Click Add to Chrome and confirm.
- Pin the extension to your toolbar for easy access (click the puzzle-piece icon → pin Obsidian Web Clipper).
Configuration
- Click the Web Clipper icon in your toolbar.
- Click the Settings (gear) icon.
- Under Vault, select your vault from the dropdown. If it doesn't appear, make sure Obsidian is open and the vault is loaded.
- Under Default save location, change it from the root folder to
raw. This is the key step — every clip goes straight into your inbox without any manual routing. - Leave the Template as default (or customize it — the default Markdown output works well).
Clipping a page
- Navigate to any article or webpage.
- Click the Web Clipper icon.
- A preview of the content appears. You can clip the full page or just a selection.
- Click Add to Obsidian. The file lands in
raw/as a.mdfile, ready for Claude to process.
Step 4: Install Obsidian Web Clipper on iOS
Installation
- Open the App Store and install Obsidian if you haven't already.
- Open Obsidian on iOS, create or open your vault (you can sync it via iCloud — see the Obsidian sync settings).
- For Web Clipper on iOS, Obsidian uses the native Share Sheet. Install the Obsidian Web Clipper — it adds itself to your iOS share sheet automatically when Obsidian is installed.
Configure the default save folder
- Open Obsidian on iOS → Settings (gear icon) → Web Clipper.
- Set Default folder to
raw. - Tap Save.
Now any content you share to Obsidian from Safari, Twitter/X, or any other iOS app will land directly in raw/.
Step 5: Saving a Post from X (Twitter)
On Chrome (Desktop)
- Navigate to the X post you want to save.
- Click the Obsidian Web Clipper icon in your toolbar.
- The extension captures the post text and URL as Markdown.
- Click Add to Obsidian — saved to
raw/.
Alternatively, you can save just the URL. Create a new .md file in raw/ with a single line:
https://x.com/karpathy/status/1234567890
Claude will detect that the file only contains a URL to X, fetch the post content, and process it into the wiki.
Note on Claude plugins: If you have the Firecrawl MCP plugin installed in Claude Code, disable it before running compile on X URLs. Firecrawl actively blocks requests to X/Twitter, which will cause Claude to fail silently when trying to fetch post content. Claude should use the default system browser (Chrome or Firefox) to retrieve X URLs — not Firecrawl.
On iOS
- Open the X app and navigate to the post.
- Tap the Share icon on the post.
- In the share sheet, scroll to find Obsidian (you may need to tap "More" the first time to enable it).
- Tap Obsidian — a save dialog appears.
- Confirm the save location is
raw/(it should default there after your configuration). - Tap Save. Done.
Step 6: Running the Compile Step
Once you've accumulated a few files in raw/, open your terminal and navigate to your vault:
cd /path/to/your/vault
claude
This opens Claude Code in your vault directory. Claude reads CLAUDE.md and knows the rules. Now type:
compile
Claude will:
- Scan
raw/for unprocessed files. - Read each one (and if it's just an X URL, fetch the post content).
- Decide which wiki topic it belongs to, creating a new topic folder if needed.
- Write a structured wiki article with bullet-point summaries and a Key Takeaways section.
- Update the topic's
_index.mdwith a link and description. - Update
wiki/_master-index.mdto reflect any new topics. - Cross-link related articles using
[[wiki links]].
You can compile as often or as rarely as you like — daily, weekly, or whenever raw/ fills up.
Step 7: Retrieving Information
The other half of the system is retrieval. Instead of searching through files manually, you ask Claude.
Open your vault in Claude Code:
cd /path/to/your/vault
claude
Then ask questions naturally:
What do I know about transformer architectures?
Claude will:
- Read
wiki/_master-index.mdto find the relevant topic folder. - Open that topic's
_index.mdto find the right article. - Read the article and answer your question in context.
You can also ask for synthesized reports:
Write a summary of everything I've saved about AI agents and put it in output/ai-agents-report.md
Claude will pull from multiple articles across the wiki, synthesize them, and write the report to output/.
Example queries
What are the key takeaways from the Andrej Karpathy lecture I saved?

Compare the approaches to RAG I've saved — what are the tradeoffs?

What do I know about attention mechanisms? Link to related concepts.

Audit the wiki — are there any broken links or topics with only one article?
Step 8: Automate Compile With a Cloud Scheduled Task
Running compile manually is fine, but you can have Claude do it automatically every day without touching your terminal. Claude Code supports cloud scheduled triggers — remote agents that run on a cron schedule in Anthropic's infrastructure.
Prerequisite: Your Obsidian vault must be in an iCloud directory for the remote agent to access it.
Create the "Obsidian Compile" trigger
- Open your terminal and navigate to your vault:
cd /path/to/your/vault
claude
- Tell Claude to create a scheduled trigger:
Create a scheduled task called "Obsidian Compile" that runs daily.
The prompt is: Run the command "compile" in the Guillaume-Lai-Obsidian Obsidian Vault folder.
-
Claude will ask what time you want it to run. Pick a time (e.g., 7am your local timezone). Claude automatically converts it to UTC for the cron expression and confirms with you before creating.
-
Claude will show you the full configuration to review:
- Name: Obsidian Compile
- Schedule: Daily at your chosen time
- Prompt:
Run the command "compile" in the my-wiki Obsidian Vault folder. Process all uncompiled files in raw/ into the wiki following the rules in CLAUDE.md. - Folder: your vault's iCloud folder
-
Confirm, and Claude creates the trigger. You'll get a link to manage it at
https://claude.ai/code/scheduled.
What happens each day
At your scheduled time, a remote Claude agent spins up, clones your vault repo, reads CLAUDE.md, processes everything in raw/ that hasn't been compiled yet, and commits the updated wiki articles back to the repo. Your wiki grows automatically.
Managing the trigger
- View all triggers: Go to claude.ai/code/scheduled
- Run it immediately: Ask Claude — "run my Obsidian Compile trigger now"
- Pause it: Toggle it off from the scheduled tasks page
- Change the time: Ask Claude — "update Obsidian Compile to run at 8am instead"
Note on Firecrawl
⚠️ If you have the Firecrawl Claude Code plugin installed, disable it before running compile — whether manually or via the scheduled task.
Firecrawl actively blocks queries to X (Twitter). When Claude tries to fetch an X post URL from
raw/, Firecrawl intercepts the request and blocks it — the post content won't be retrieved and the file will fail to compile.Claude should use the default system web browser (Chrome or Firefox) to fetch X URLs. To disable Firecrawl: open Claude Code settings → Plugins and toggle it off before compiling.
The cloud scheduled agent does not have the Firecrawl plugin installed, so it will correctly use Chrome to fetch X links without any extra configuration.
The Full Workflow in Practice
See something interesting on X (mobile)
    → Share to Obsidian → lands in raw/

Read an article on Chrome (desktop)
    → Web Clipper → lands in raw/

Drop a PDF in raw/ manually

Daily (automatic): Cloud scheduled task → "compile"
    → wiki gets updated, organized, cross-linked — no manual step needed

When you need to remember something: claude → ask in plain English
    → Claude navigates wiki and answers
Why This Works
- Capture is frictionless. One tap on mobile, one click on desktop. No decisions.
- Organization is automated. You never have to think about folder structure or tags.
- Retrieval is conversational. You don't need to remember what you named a file.
- You own the data. Everything is plain Markdown files. No vendor lock-in.
- It compounds. The more you add, the more Claude can connect and synthesize.
Tips
- Don't worry about cleaning up
raw/— Claude tracks what's been compiled. - You can drop PDFs directly in
raw/and Claude will process them. - Use the Audit command periodically:
"audit the wiki"— Claude will flag broken links and suggest improvements. - The
output/folder is great for pre-meeting research: "summarize everything I know about [topic] in output/prep.md".